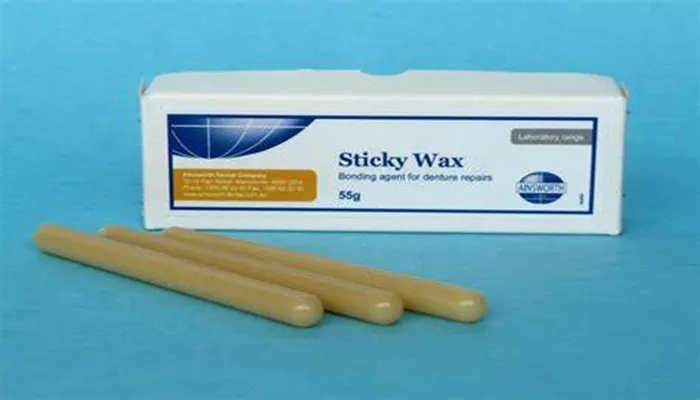
Orthodontic wax is an essential product for individuals undergoing orthodontic treatment. It provides comfort and relief from irritation caused by braces and other dental appliances. While many orthodontic patients purchase ready-made wax, making your own orthodontic wax sticks can be a simple and cost-effective solution. In this article, we will explore how to make orthodontic wax sticks, the materials needed, the step-by-step process, and tips for effective use.
What Is Orthodontic Wax?
Orthodontic wax is a soft, pliable substance that can be applied to brackets and wires to create a barrier between the appliance and the soft tissues of the mouth. This barrier helps to prevent irritation, sores, and discomfort that can occur during the adjustment period of braces.
Homemade orthodontic wax can be just as effective as store-bought options and allows for customization in terms of flavor and texture.
Materials Needed
To make orthodontic wax sticks, you will need the following materials:
Beeswax: This natural wax is the primary ingredient. It is safe for oral use and provides a firm yet pliable texture.
Paraffin Wax: This wax helps to soften the mixture and improve its consistency.
Flavoring (optional): You can add natural flavoring, such as peppermint or vanilla, to enhance the taste of the wax.
Essential Oils (optional): A few drops of essential oils can provide additional flavor and therapeutic benefits.
Double Boiler or Microwave: For melting the wax.
Silicone Molds or Ice Cube Tray: To shape the wax into sticks.
Spatula or Spoon: For mixing the ingredients.
How To Make Orthodontic Wax Stick: Step-by-Step Process
Step 1: Prepare Your Workspace
Before starting, ensure that your workspace is clean and organized. Gather all your materials and tools. It is important to work in a well-ventilated area, especially when melting wax.
Step 2: Measure the Wax
Measure equal parts of beeswax and paraffin wax. A common ratio is 1:1, but you can adjust based on your desired firmness.
For example, if you want a softer wax, use more paraffin wax.
Step 3: Melt the Wax
Using a double boiler, melt the measured wax over low heat. If you do not have a double boiler, you can use a microwave-safe bowl and heat the wax in short intervals of 30 seconds, stirring in between until fully melted.
Be cautious not to overheat the wax, as it can become too hot and lose its properties.
see also: How To Prevent Orthodontic Relapse
Step 4: Add Flavoring and Essential Oils
Once the wax is melted, you can add flavoring and essential oils if desired. Start with a few drops and adjust according to your taste preferences. Stir the mixture thoroughly to ensure even distribution.
Step 5: Pour into Molds
Carefully pour the melted wax into silicone molds or an ice cube tray. Fill each cavity to the top, ensuring there are no air bubbles. If using molds, you can create different shapes or sizes of wax sticks.
Step 6: Allow to Cool
Let the wax cool at room temperature until it solidifies. This process may take about 30 minutes to an hour, depending on the size of the molds.
Step 7: Remove from Molds
Once the wax has fully cooled and hardened, gently remove it from the molds. If the wax sticks are difficult to remove, you can place the molds in the refrigerator for a few minutes to help them release.
Step 8: Store the Wax Sticks
Store the orthodontic wax sticks in an airtight container to prevent them from drying out. Keep them in a cool, dry place.
You can also label the container with the flavor for easy identification.
Tips for Effective Use
Once you have made your orthodontic wax sticks, here are some tips for effective use:
Clean Your Teeth: Before applying wax, ensure that your teeth and braces are clean. Brush and floss to remove any food particles.
Dry the Area: Use a tissue to dry the area around the bracket or wire where you plan to apply the wax. This will help the wax adhere better.
Apply a Small Amount: Take a small piece of wax and roll it into a ball.
Flatten it slightly and press it onto the bracket or wire that is causing irritation.
Replace as Needed: Replace the wax as needed, especially after eating or drinking. The wax can become dislodged or lose its effectiveness over time.
Monitor for Irritation: If irritation persists or worsens, consult your orthodontist. They may need to adjust your braces or recommend additional treatment.
Benefits of Homemade Orthodontic Wax
Making your own orthodontic wax sticks has several advantages:
Cost-Effective: Homemade wax is often less expensive than store-bought options, especially if you need to use it frequently.
Customization: You can customize the flavor and texture to suit your preferences, making it more enjoyable to use.
Natural Ingredients: By using natural waxes and flavorings, you can avoid synthetic additives that may be present in commercial products.
Satisfaction of DIY: Creating your own orthodontic wax can be a rewarding experience, giving you a sense of accomplishment.
Conclusion
Orthodontic wax is a valuable tool for anyone undergoing orthodontic treatment. Making your own orthodontic wax sticks is a simple process that can provide comfort and relief from irritation caused by braces. By following the steps outlined in this article, you can create effective and personalized wax sticks that suit your needs.

